|
Last week, our photoshop assignment was to take a picture that looked like it had multiple versions of something in it, made from many different shots. Here's my first photo, with Charlie as the subject:  And here's another one (a little too dark, I know): 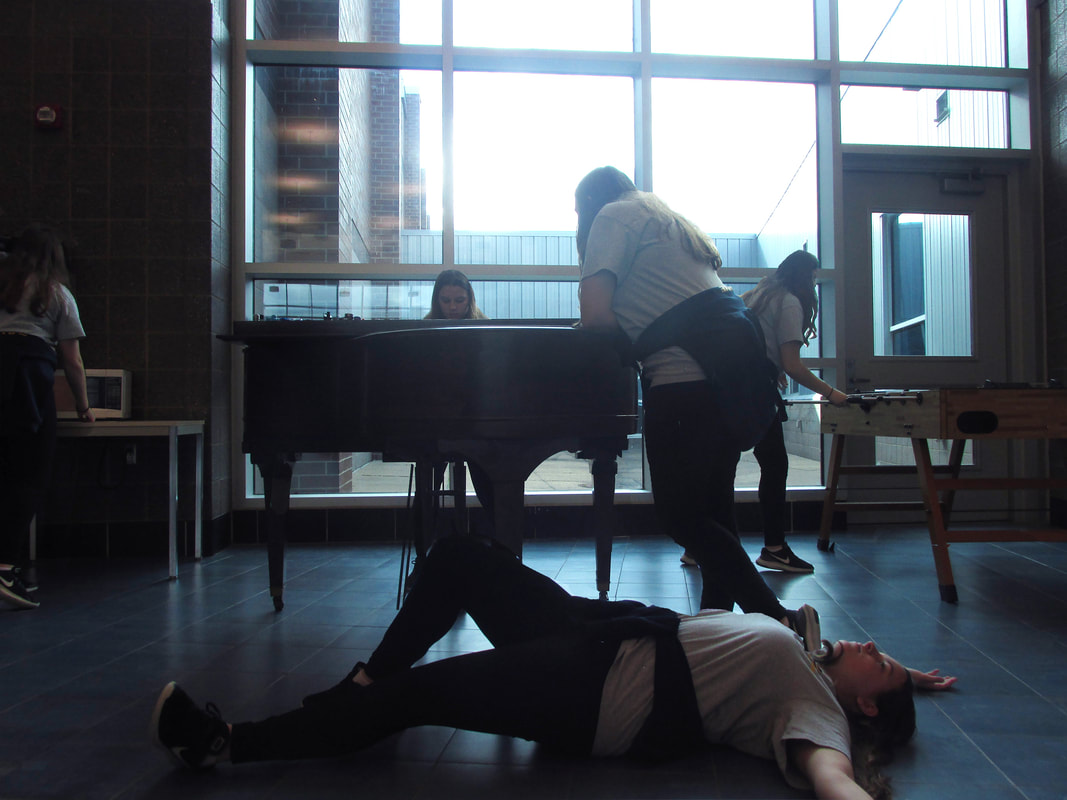
0 Comments
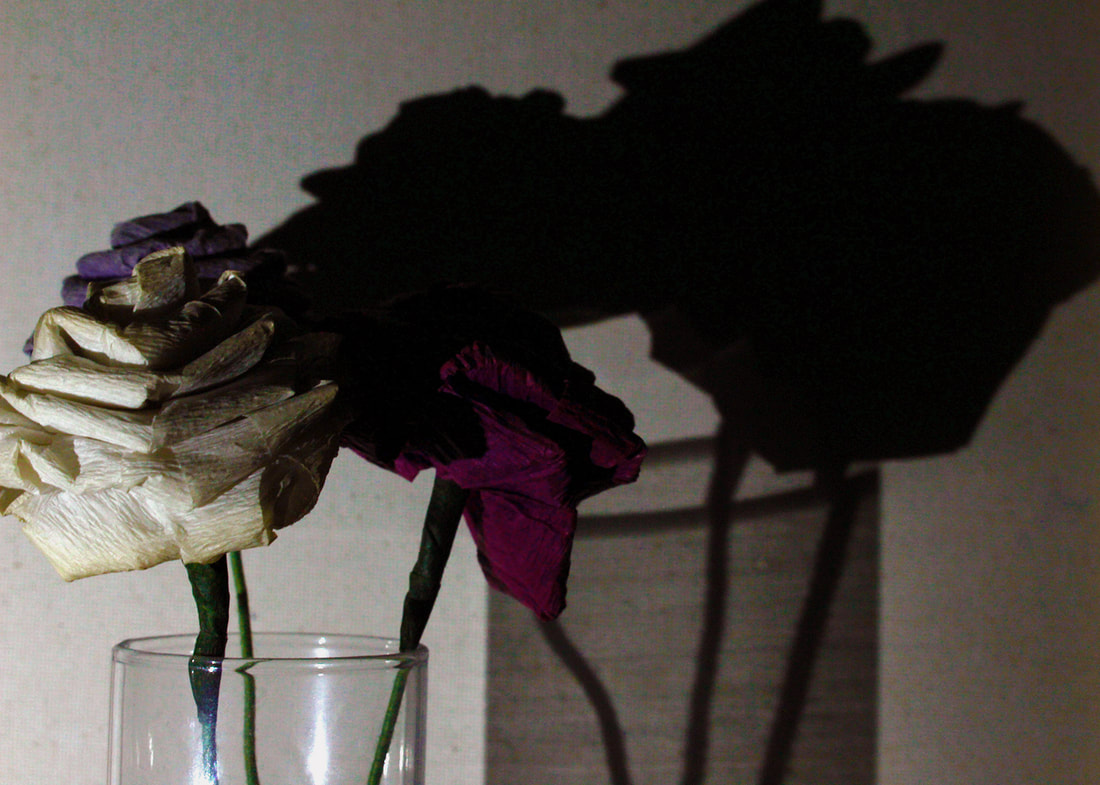
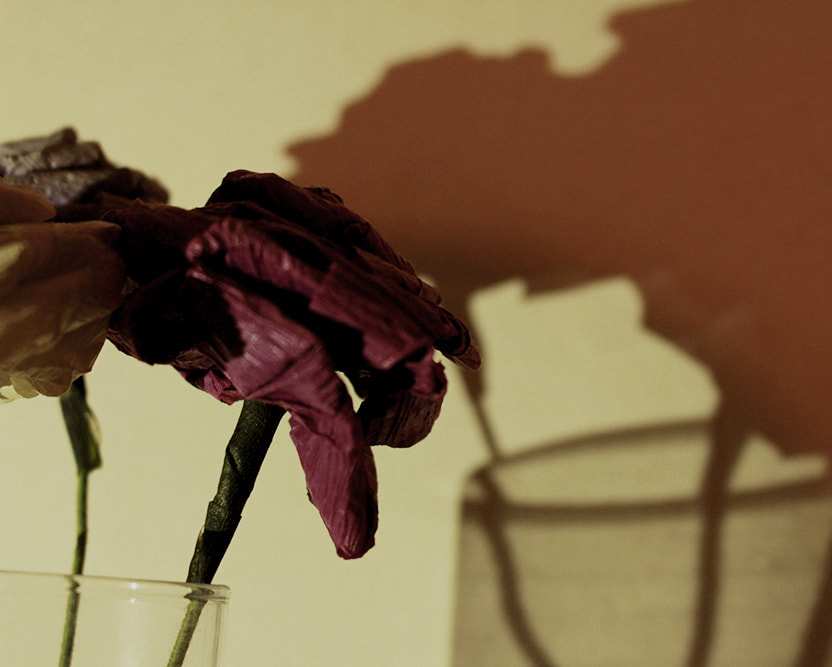
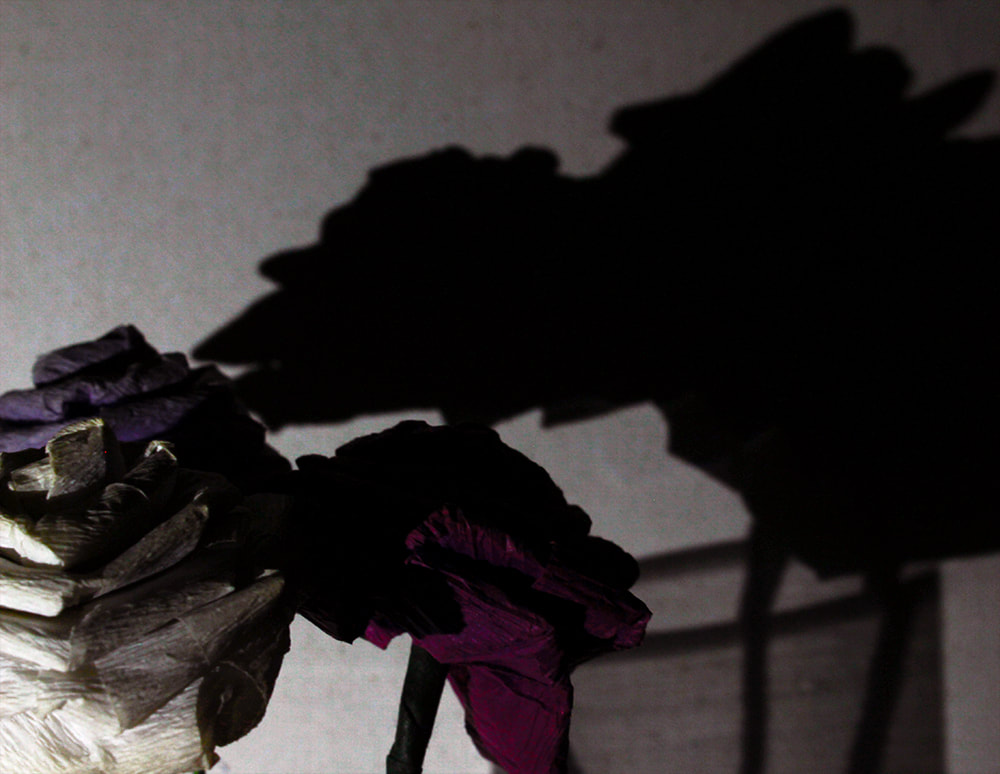
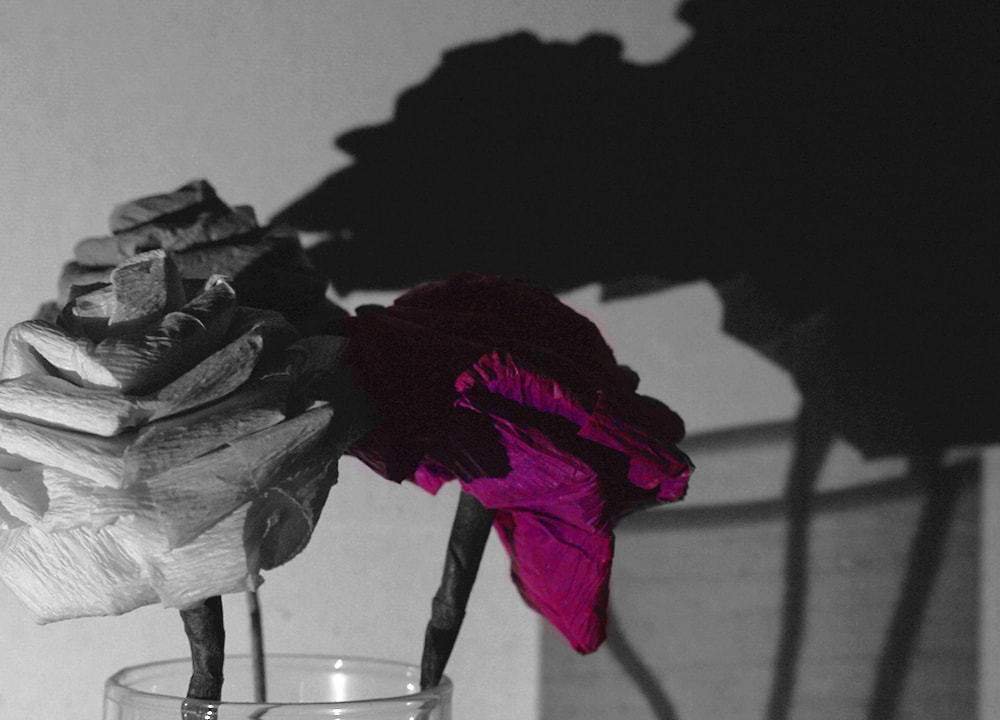
This week I chose to show the contrast between shadows and light in my photos. Here are my pictures: 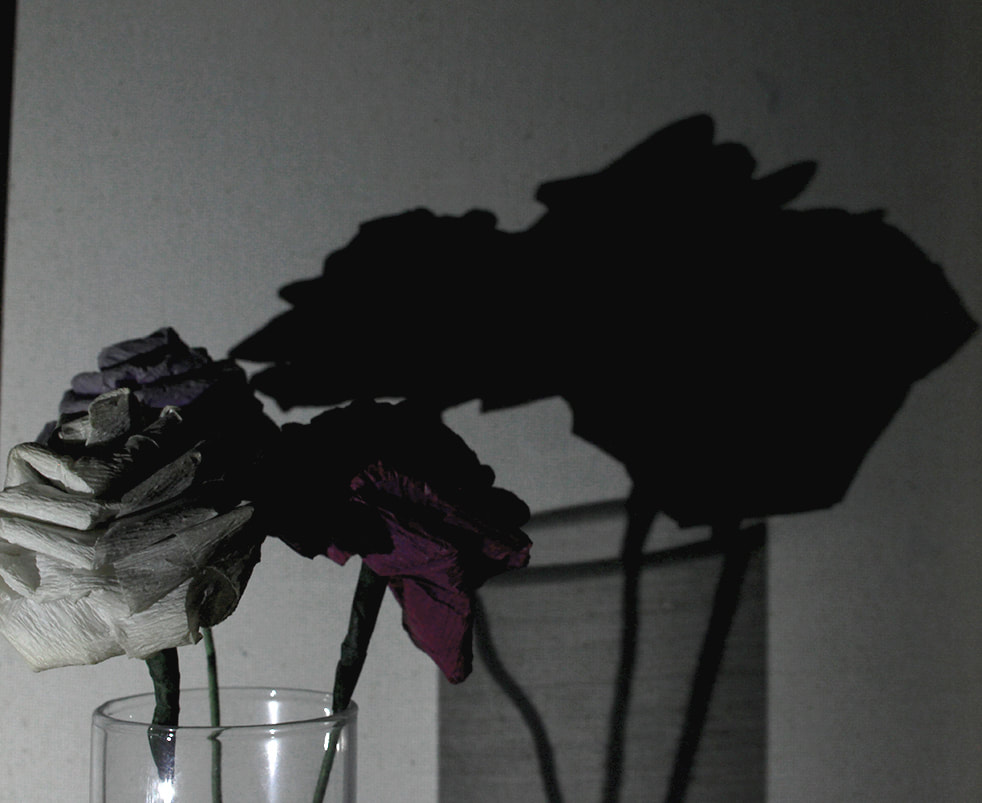 Shutter Speed - 1/8 Aperture - 11.0 ISO - 400 It was kind of difficult to get the lighting right for this photo, since the normal light was to bright, the flashlight wasn't light enough, and the lamp was too yellow, so I had to touch these up in photoshop. Also, to get the white background, I had to use the back of a canvas, which I think gives it a nice texture.
For this assignment, our task was to take a picture somewhere around the school and photoshop it so it has a different theme about it. Here is the original picture I took: 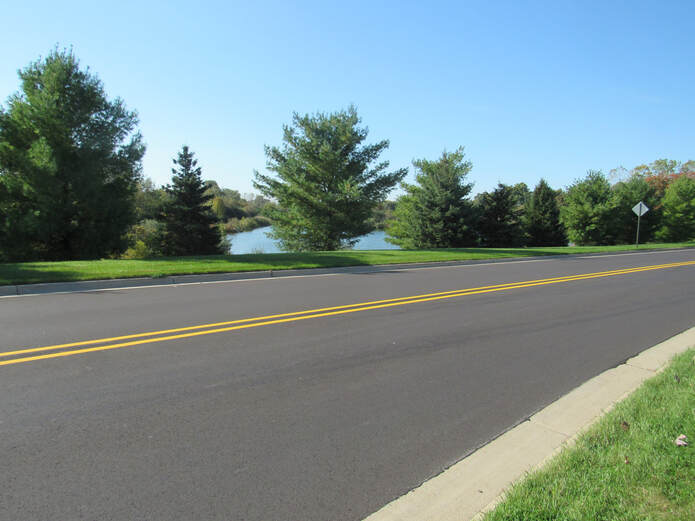 And here is the edited photo:  From this assignment I learned how to use multiple layers to my advantage, as well as learning how to take the background out of pictures of characters, items, etc.
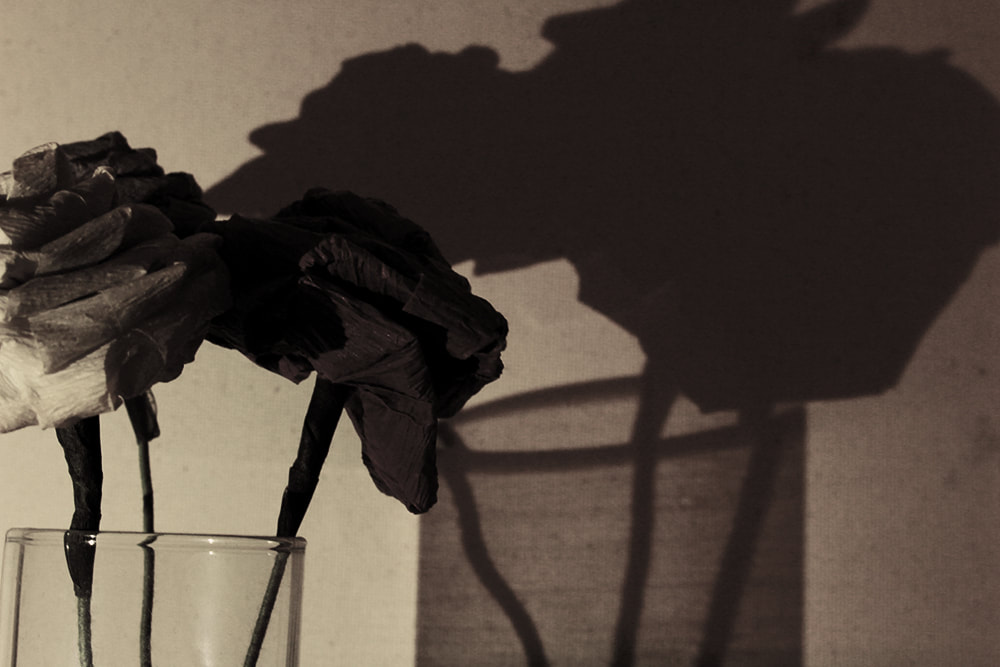
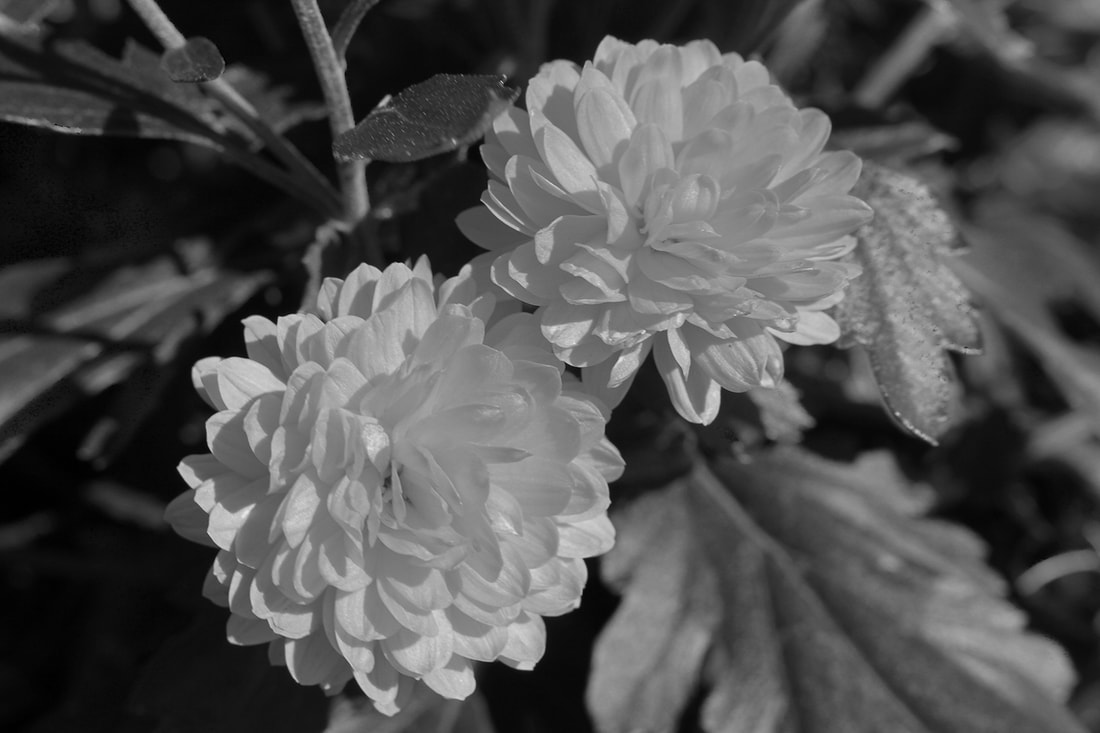
This week, we were supposed to photoshop pictures either leftover from other weeks or taken specifically for the assignment to be black and white. Here are my pictures: 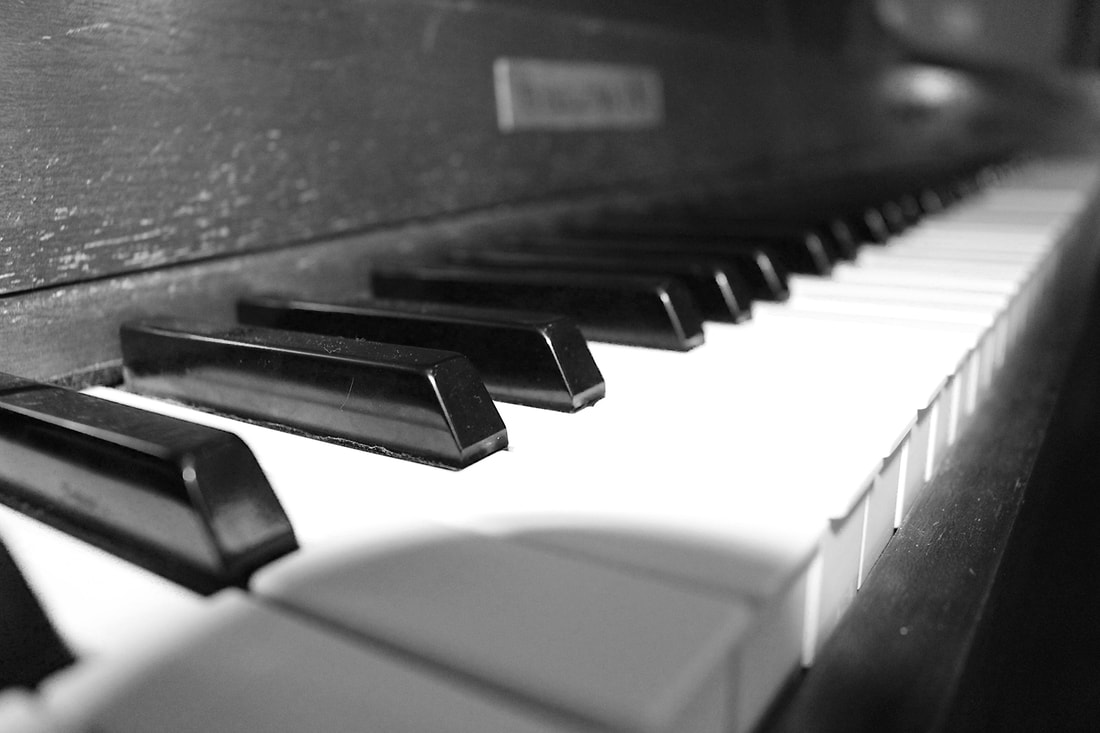 Shutter Speed - 1/60 Aperture - 3.5 ISO - 1600 As you can see, I took a little break from taking pictures this week, and I just took away the color from these pictures. So they don't have any correlation. I hadn't submitted the piano shot, though, and I think it looks nice without color.
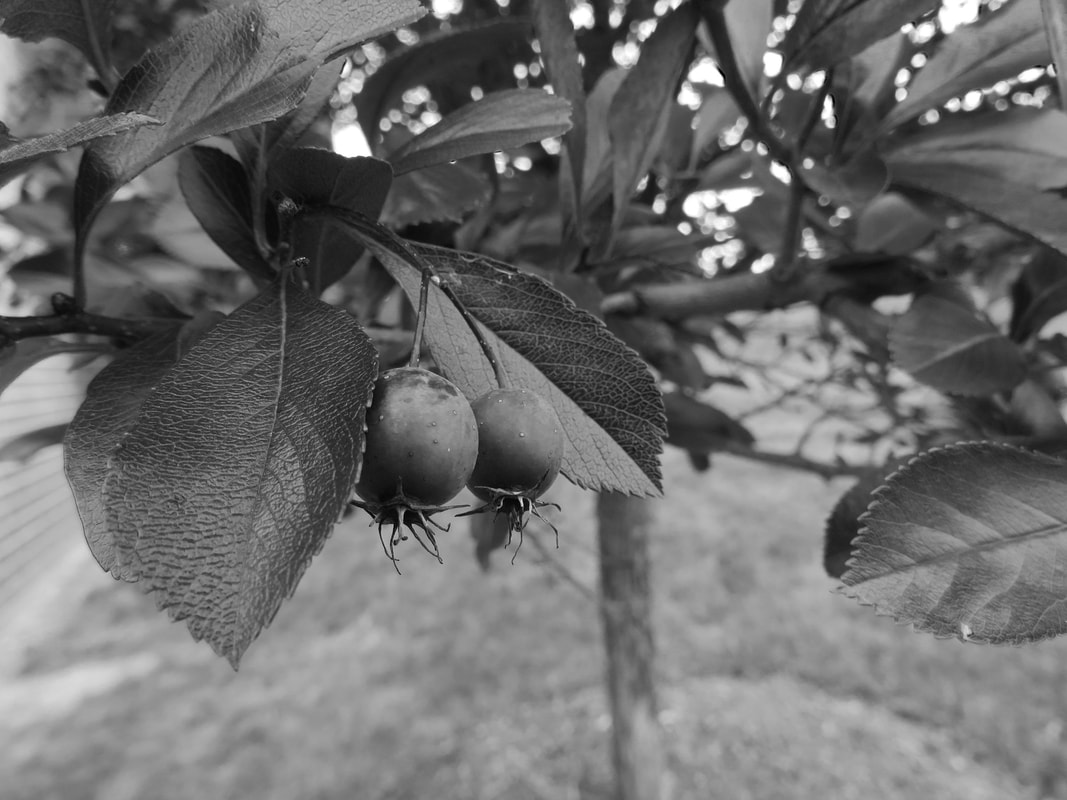
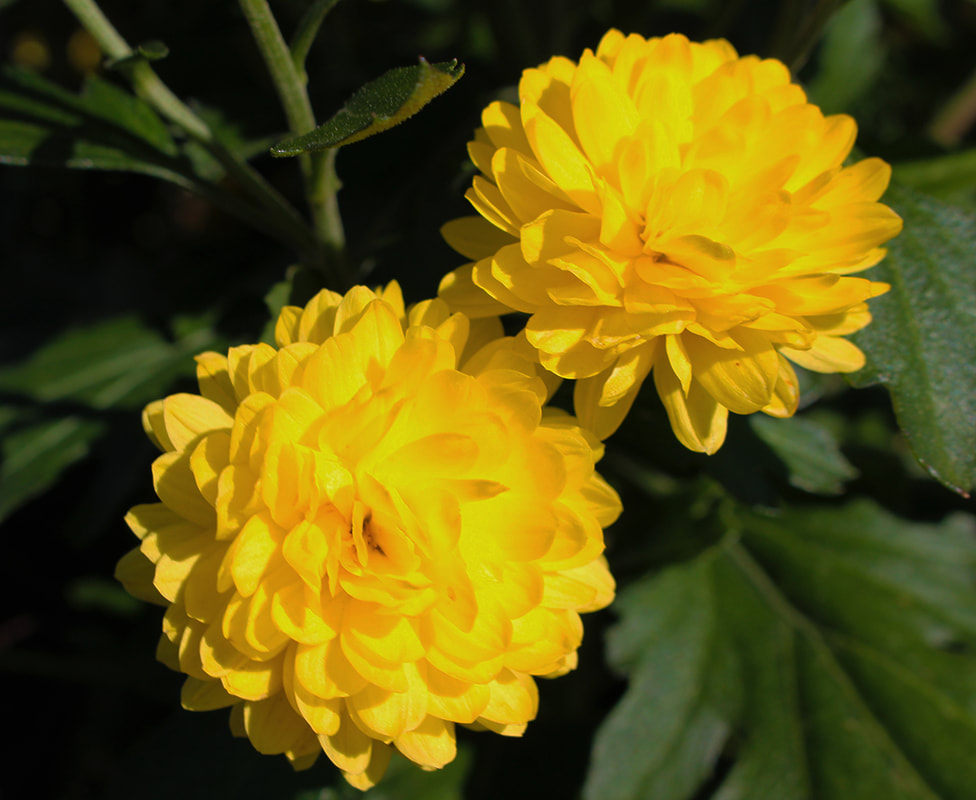
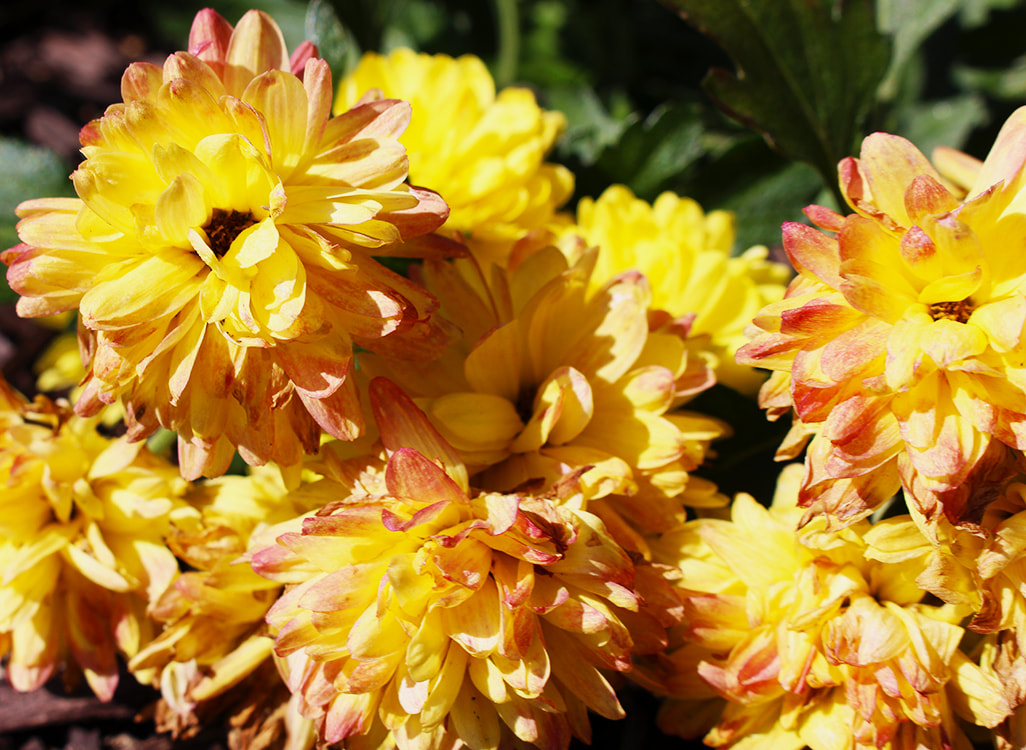
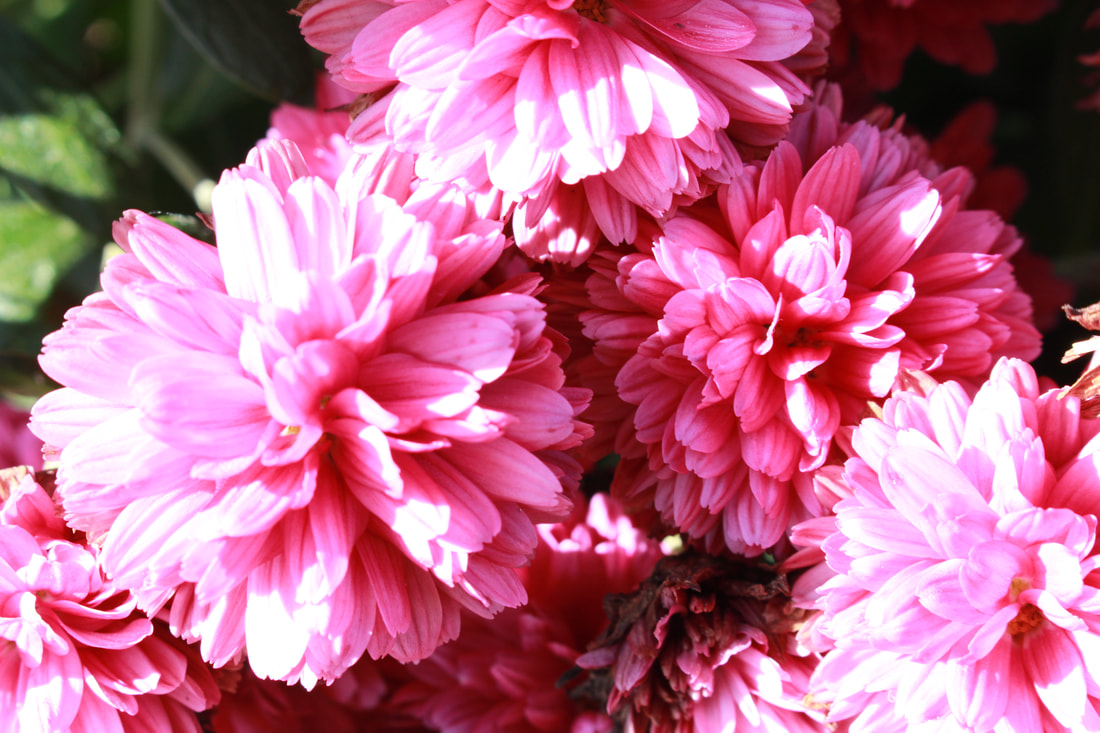
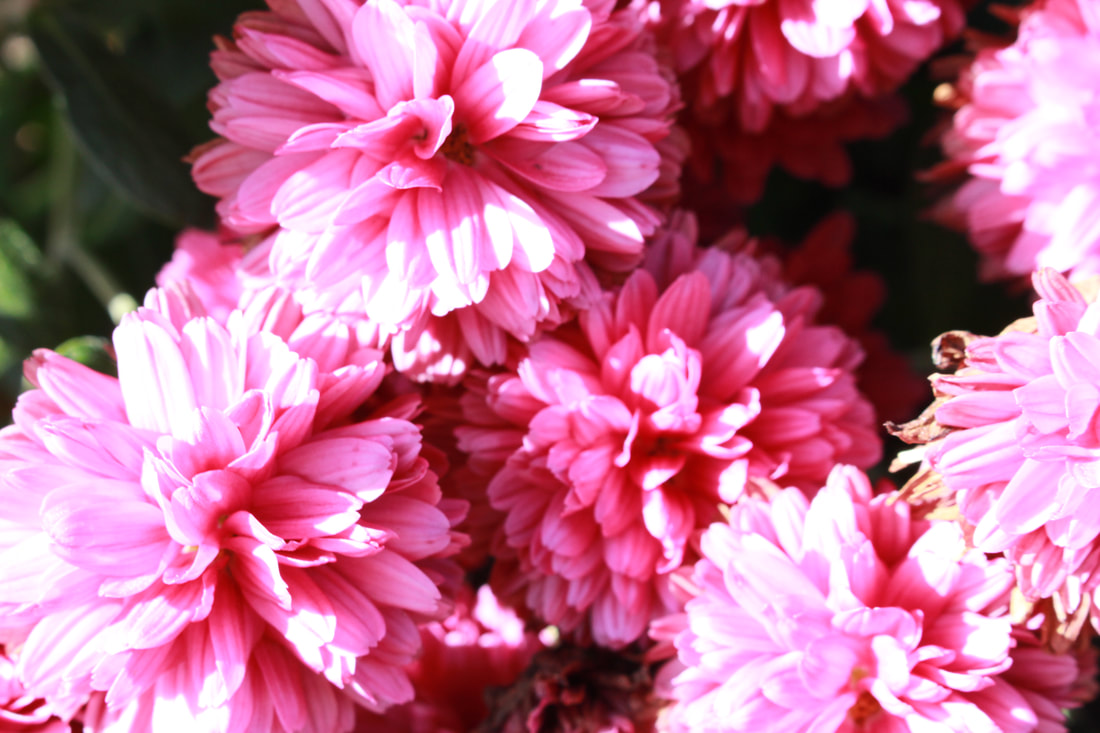
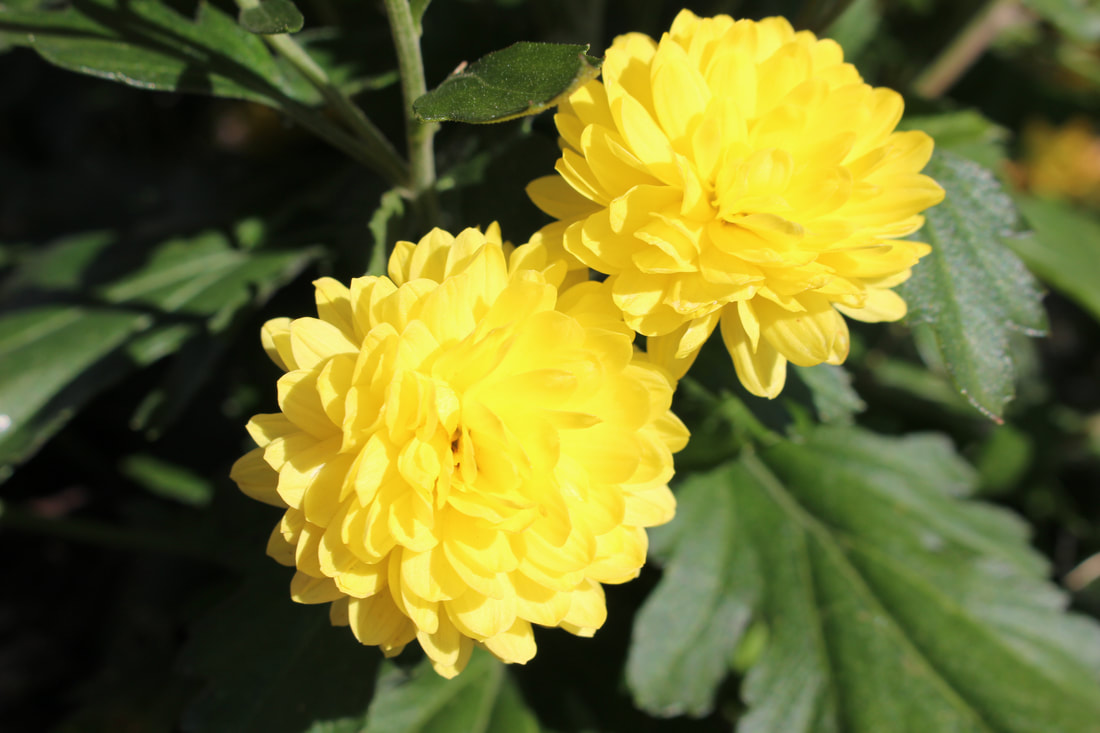
It's pretty clear what I had to do for this assignment, but what we were supposed to shoot was pictures of things in nature (plants, flowers, trees, etc.) or landscape shots. Here are my photos: First - edit Second - Original Shutter Speed - 1/250 Aperture - 11.0 ISO - 400 These flowers are in my front yard, and it was actually really windy when I was trying to shoot, so sometimes I had to hold them still. I think next time I shoot these kinds of pictures I'll use the longer lens so I can get clearer photos.
For this assignment, we were told to take multiple side-to-side pictures and sew them together (using photoshop) to make panoramic shots, pictures that are wide and show lots of landscape. Here are my panoramic photos (apologize for the bad quality): I thought that taking these pictures was pretty fun, and it probably would have been even cooler if I hadn't just been at school... I also found that using photoshop to automatically put pictures together is really easy, and they come together seamlessly
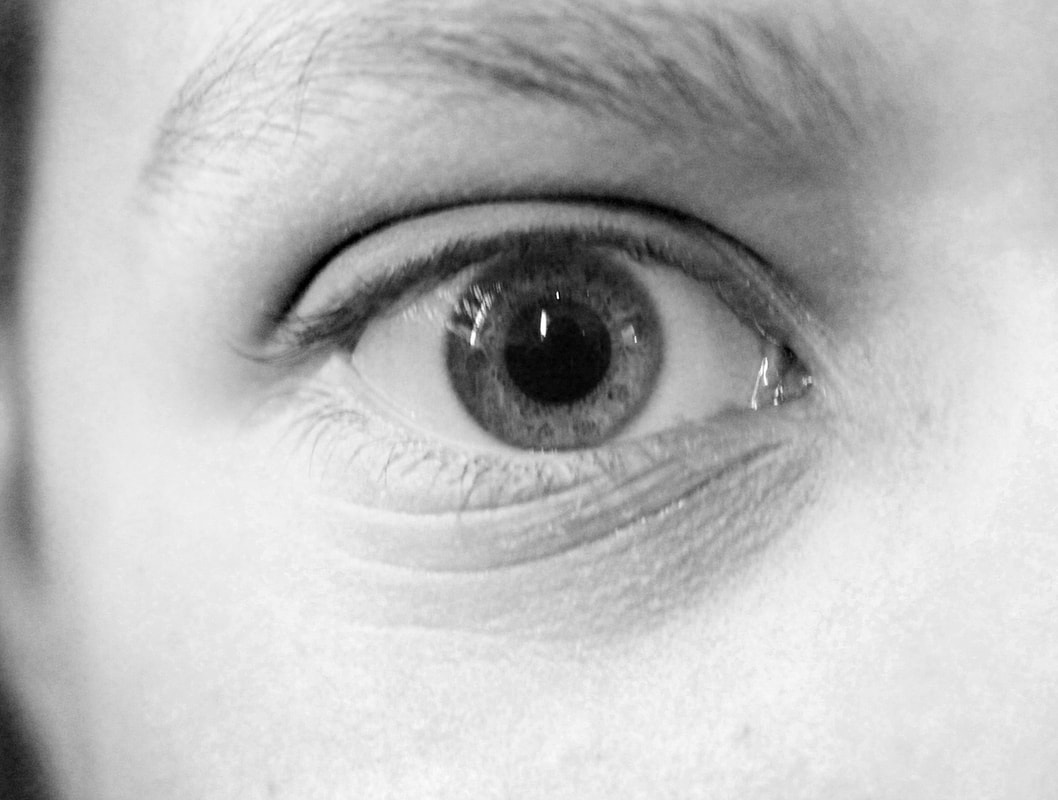
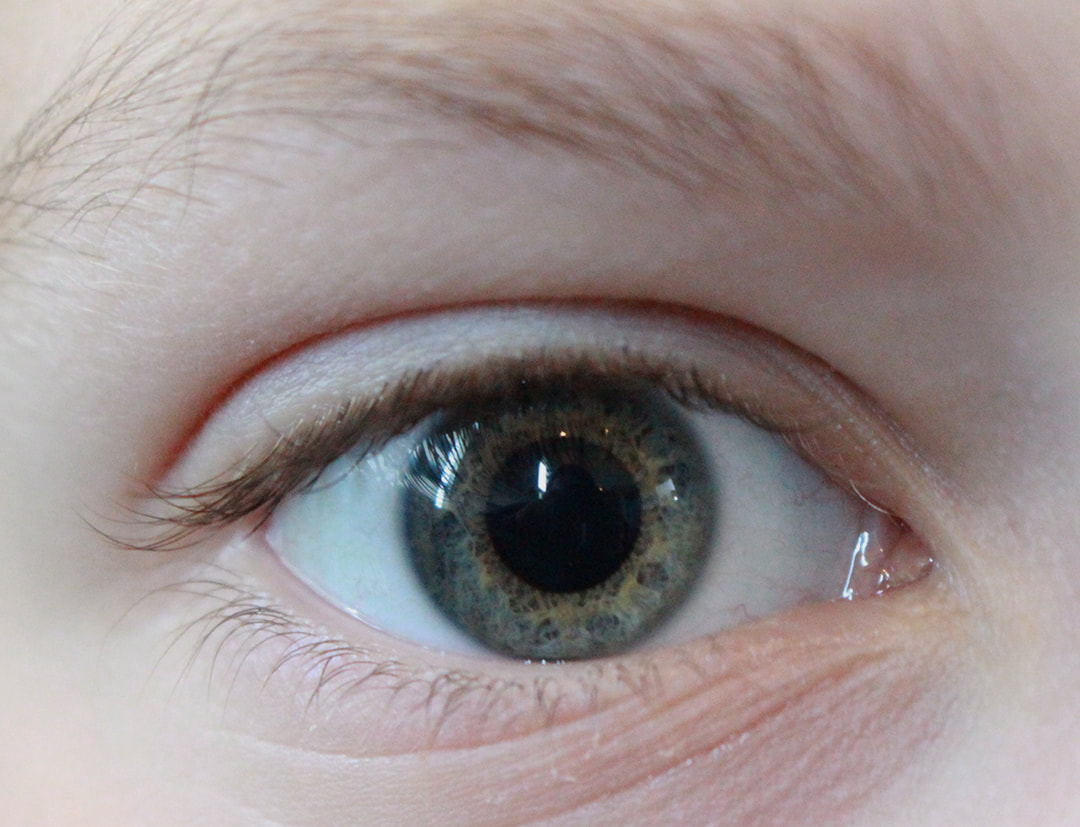
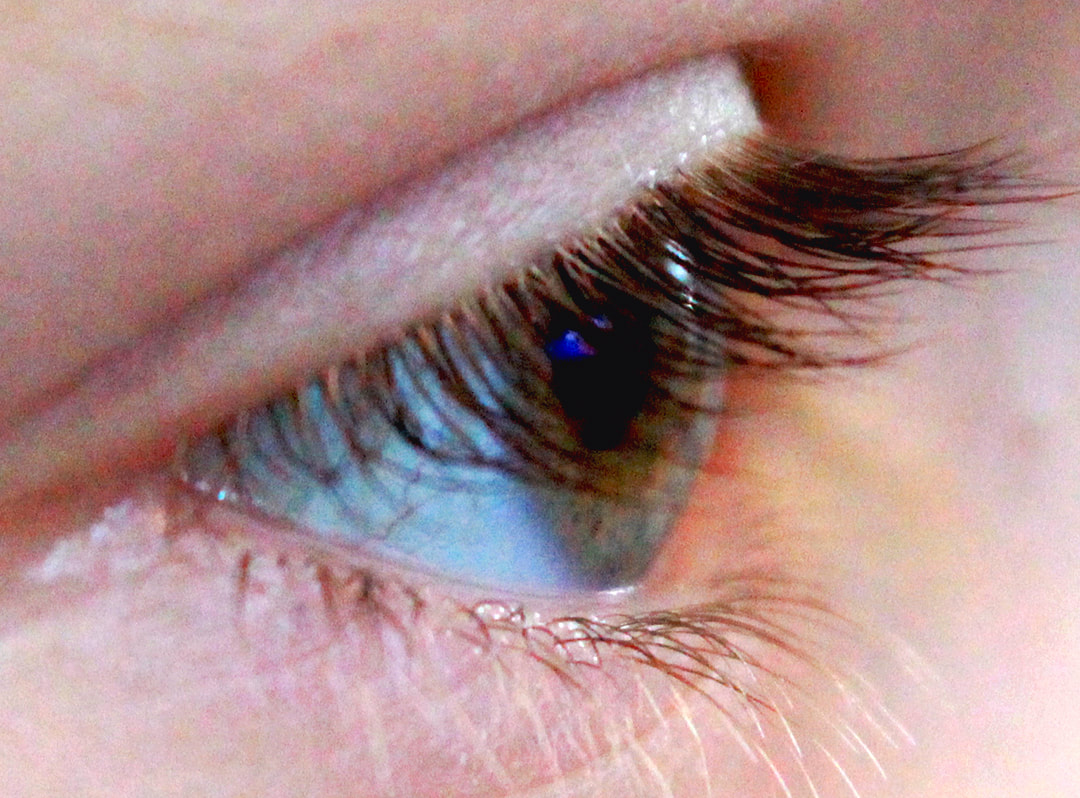
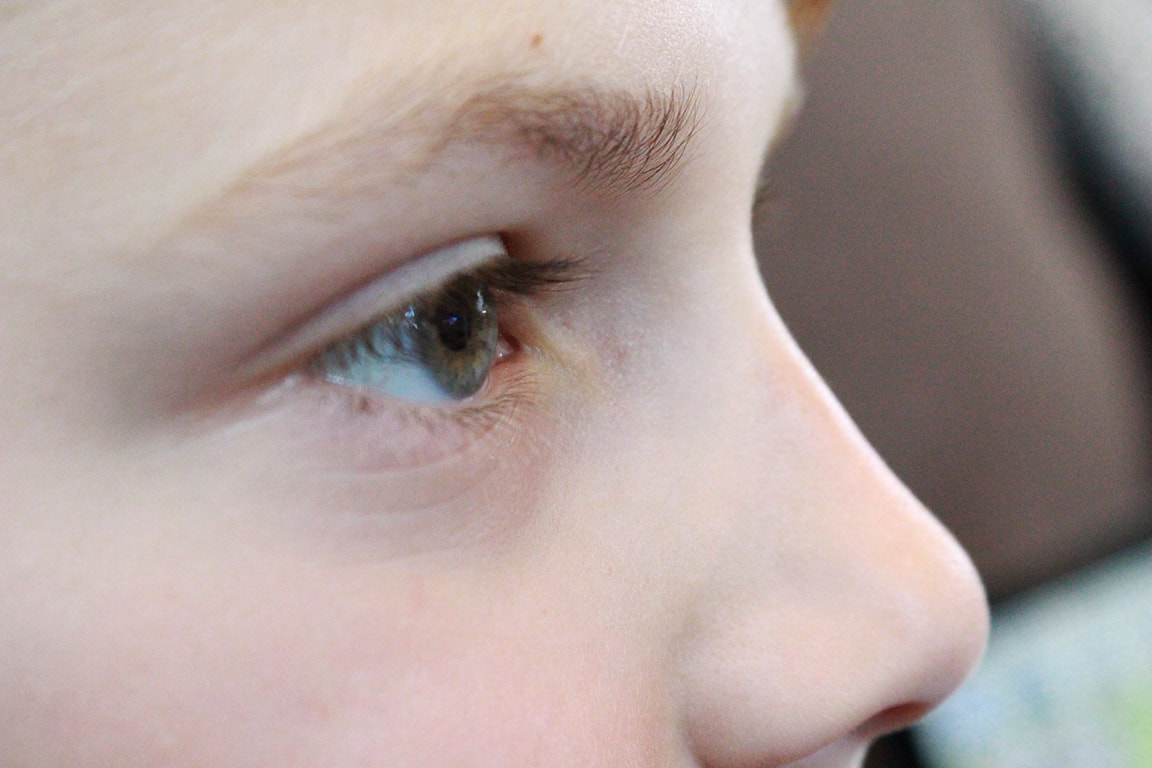
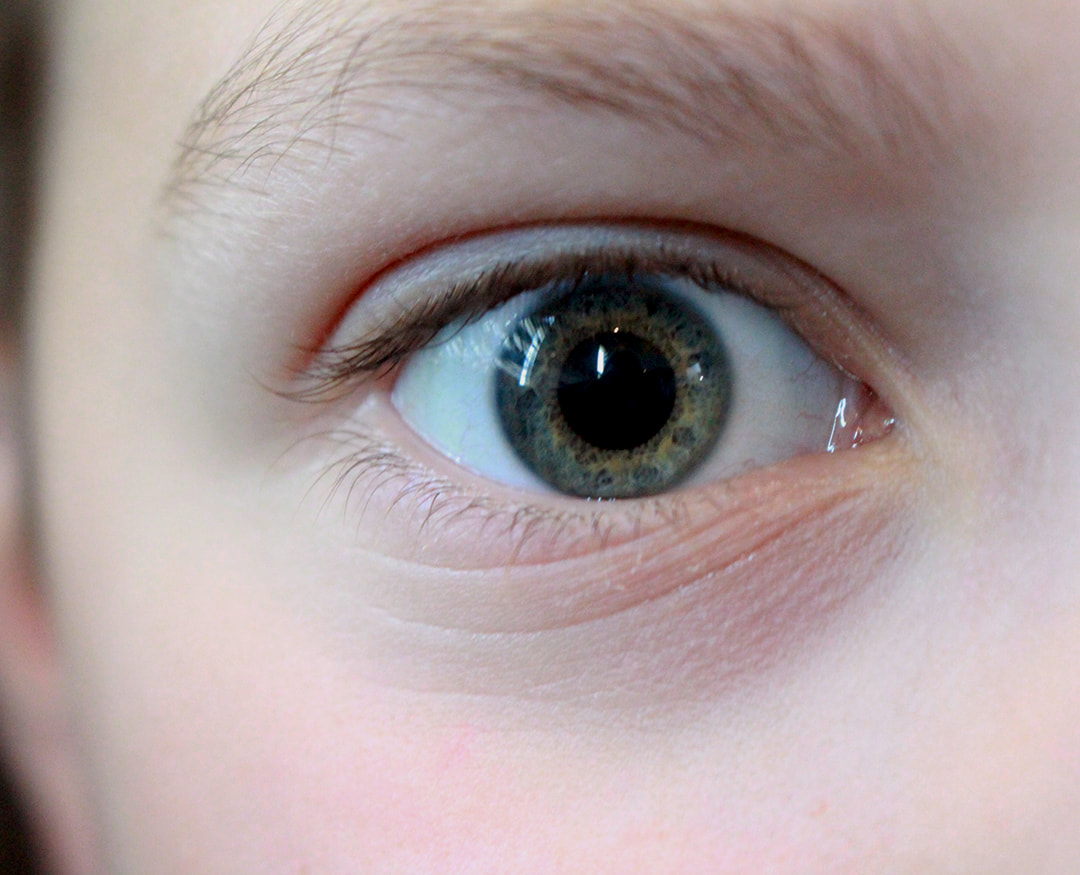
This week, I chose to take close up photos, or macro shots. Macro shots are pictures taken very close up to a subject so you can see all the details that you can't see unless you zoom in. Here are my shots. 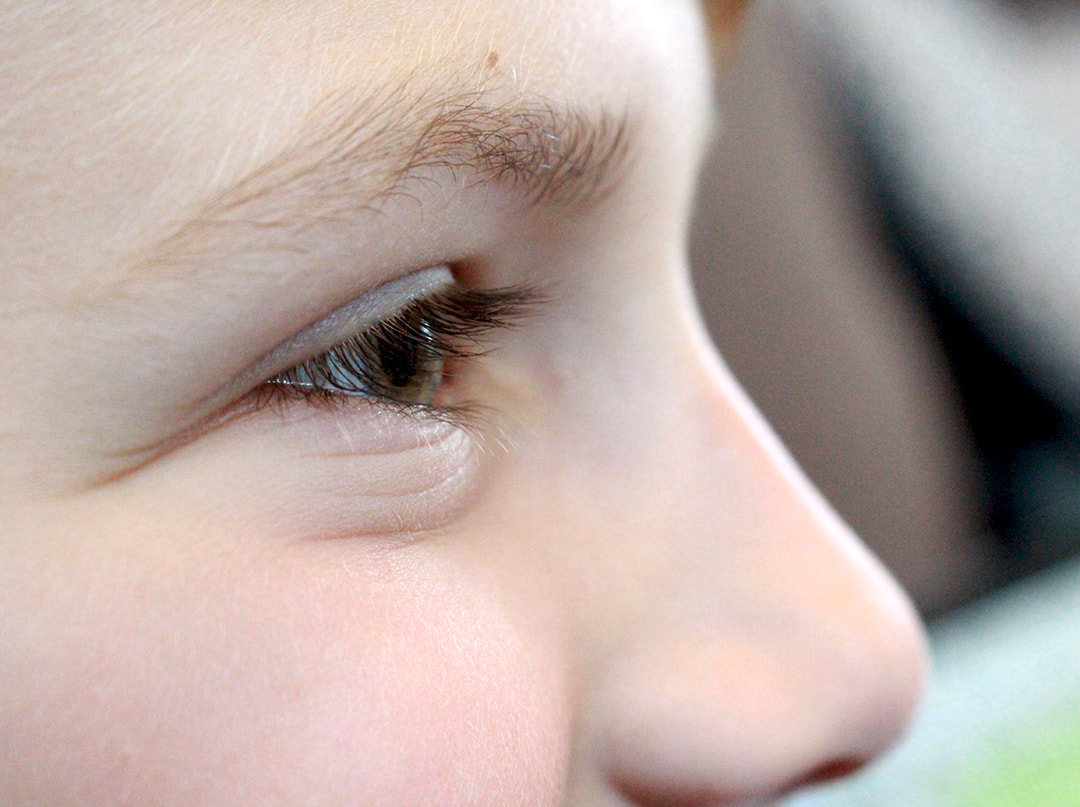 Shutter Speed - 1/50 Aperture - 6.3 ISO - 6400 These pictures are taken of my brother (again), and out of all the pictures I took, I have to say I like the ones where he's smiling the most. I think for these photos I could've lowered the ISO a bit, because they turned out a bit bright, but I thought they were a lot less blurry than photo two.
For this assignment my class was supposed to retouch an original picture of a car and take out the bright spots, the background, etc. Here is the original photo: 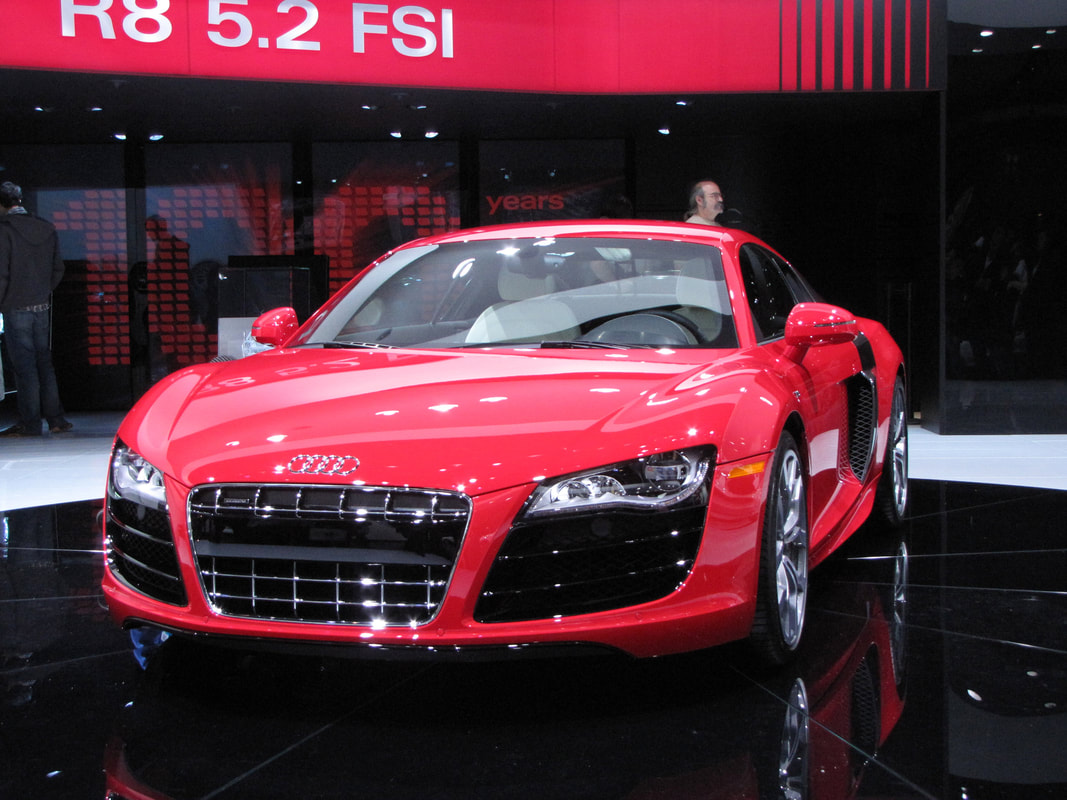 And here is the edited photo: 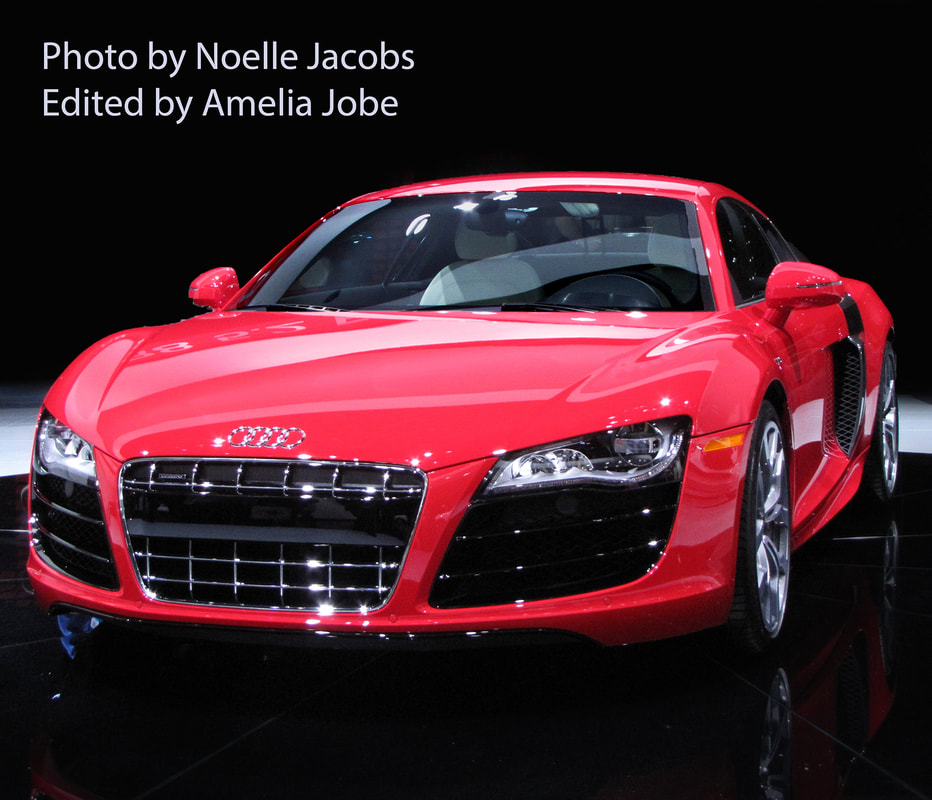 Here's another example: 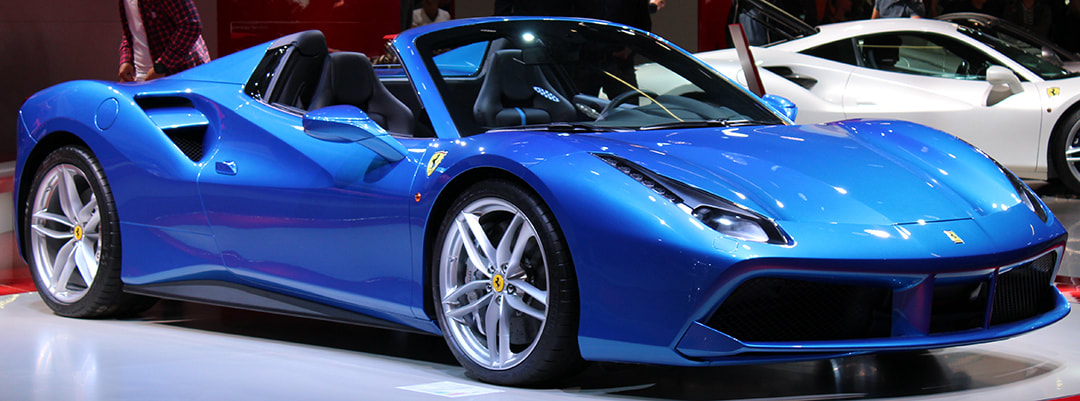 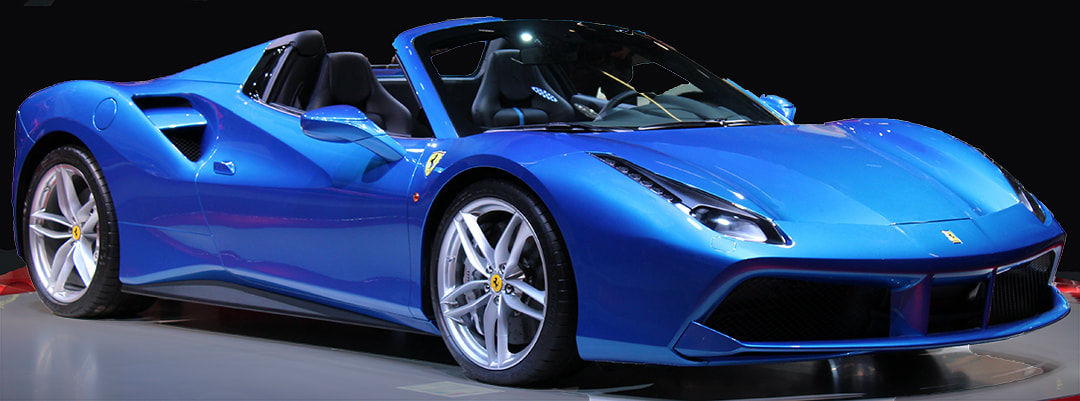 What I learned from this assignment was mostly how to use the clone tool, and how to edit out bright spots. I also got much better at using the selection tool. I learned that when selecting the subject, you should make sure you aren't cutting off any edges.
|
About myselfAmelia Jobe Archives
November 2019
Categories |


 RSS Feed
